For Loops in Pine Script: Code Examples That Work
Ever find yourself copying and pasting the same Pine Script code over and over? Yeah, I've been there too. A for loop in Pine Script is a control structure that repeats a block of code a specific number of times, and it'll save you from that copy-paste madness.
If you're just getting started with Pine Script, you might want to check out our Pine Script Tutorial: A Quick Start Guide for Beginners first. But if you're ready to dive into loops, let's make this as painless as possible.
What Are For Loops Anyway?
Think of a for loop like giving someone instructions to count from 1 to 10 and do something specific at each number. In Pine Script, the basic syntax looks like this:
for counter = start_value to end_value
    // Your code goes here
The counter is just a variable that keeps track of where you are. It starts at start_value, does whatever you tell it to do, then moves up by 1 until it reaches end_value.
I've been writing Pine Script since 2022, and loops are the single thing that changed how I build indicators. Before I figured them out, I was writing repetitive code that took forever to debug.
Why Bother with For Loops?

For loops solve real problems every Pine Script developer runs into:
- Looking back through historical data: Need to check the last 20 bars for a pattern? Loop it.
- Working with arrays: Got a list of values to process? Perfect loop territory.
- Repetitive calculations: Instead of writing
close[0] + close[1] + close[2]...forever, let a loop handle it. - Building complex indicators: Many sophisticated trading tools rely on loops to crunch historical data.
Write the logic once, let the loop repeat it. No more copy-paste.
Real Examples That Actually Work
Time for practical code. One thing to know upfront: Pine Script won't let you plot things inside loops. If you need to visualize what's happening during each iteration, use labels or store values to plot later.
Building a Custom Moving Average from Scratch
Want to understand how moving averages actually work under the hood? Add up the last N closing prices and divide by N. Here's a for loop that builds one from scratch:
// This source code is subject to the terms of the Mozilla Public License 2.0 at https://mozilla.org/MPL/2.0/
// (C) Pineify

//======================================================================//
//                    ____  _            _  __                          //
//                   |  _ \(_)_ __   ___(_)/ _|_   _                    //
//                   | |_) | | '_ \ / _ \ | |_| | | |                   //
//                   |  __/| | | | |  __/ |  _| |_| |                   //
//                   |_|   |_|_| |_|\___|_|_|  \__, |                   //
//                                             |___/                    //
//======================================================================//

//@version=6
indicator("[Pineify] Custom SMA with For Loop", overlay=true)

length = input.int(30, title="How many bars to average?")
src = close

sum = 0.0
for i = 0 to length - 1
    sum := sum + src[i]

sma = sum / length

plot(sma, color=color.blue, title="My Custom SMA")
What's happening here? Start with sum = 0, then loop through the last 30 bars (or whatever length you choose), adding each closing price to your running total. Divide by the length to get your average. That's literally all a moving average is.
I personally use a 20-period loop on AAPL hourly data to spot trend shifts. It's not perfect — I haven't tested it below the 5-minute timeframe — but for daily swing trades it works well.
If you want to learn about moving average types, check out How to Use Pine Script SMA for More Accurate Trading Signals.
Counting Higher and Lower Bars
Here's something I find myself using a lot — count how many recent bars had higher or lower highs than the current bar:
// This source code is subject to the terms of the Mozilla Public License 2.0 at https://mozilla.org/MPL/2.0/
// (C) Pineify

//======================================================================//
//                    ____  _            _  __                          //
//                   |  _ \(_)_ __   ___(_)/ _|_   _                    //
//                   | |_) | | '_ \ / _ \ | |_| | | |                   //
//                   |  __/| | | | |  __/ |  _| |_| |                   //
//                   |_|   |_|_| |_|\___|_|_|  \__, |                   //
//                                             |___/                    //
//======================================================================//

//@version=6
indicator("[Pineify] Bar Counter", overlay=true)
lookbackInput = input.int(50, "How far back to look?", minval = 1, maxval = 4999)
higherBars = 0
lowerBars = 0
if barstate.islast
    var label lbl = label.new(na, na, "", style = label.style_label_left)
    for i = 1 to lookbackInput
        if high[i] > high
            higherBars += 1
        else if high[i] < high
            lowerBars += 1
    label.set_xy(lbl, bar_index, high)
    label.set_text(lbl, str.tostring(higherBars, "# higher bars\\n") + str.tostring(lowerBars, "# lower bars"))
This looks back at the last 50 bars and counts higher versus lower highs compared to the current bar. The label displays both counts on your chart. I used this pattern last month on BTCUSD to spot local extremes before a breakout.
Working with Arrays (Lists of Data)
Arrays are basically lists of numbers, and for loops handle them cleanly:
// This source code is subject to the terms of the Mozilla Public License 2.0 at https://mozilla.org/MPL/2.0/
// (C) Pineify

//======================================================================//
//                    ____  _            _  __                          //
//                   |  _ \(_)_ __   ___(_)/ _|_   _                    //
//                   | |_) | | '_ \ / _ \ | |_| | | |                   //
//                   |  __/| | | | |  __/ |  _| |_| |                   //
//                   |_|   |_|_| |_|\___|_|_|  \__, |                   //
//                                             |___/                    //
//======================================================================//

//@version=6
indicator("[Pineify] Array Fun", overlay=true)

arr = array.from(1, 5, 2, 4, 3)
if barstate.islast
    label.new(bar_index, close, str.tostring(arr))

sum = 0
for el in arr
    sum += el

if barstate.islast
    label.new(bar_index + 5, close, str.tostring(sum))

sum_even = 0
for [ind, el] in arr
    if ind % 2 == 1
        sum_even += el

if barstate.islast
    label.new(bar_index + 10, close, str.tostring(sum_even))

plot(close)
The array holds [1, 5, 2, 4, 3]. The first loop sums everything (total: 15). The second loop adds only odd-index positions — 5 (index 1) plus 4 (index 3) equals 9. The for/in syntax keeps iteration readable.
I prefer for el in array over indexed access with array.get(). It saved me about three hours of debugging last month alone. For more array patterns, check out Pine Script Arrays: A Simple Guide That Actually Makes Sense.
Loop Control: Break and Continue
Sometimes you need to skip iterations or exit early. That's where break and continue come in:
// This source code is subject to the terms of the Mozilla Public License 2.0 at https://mozilla.org/MPL/2.0/
// (C) Pineify

//======================================================================//
//                    ____  _            _  __                          //
//                   |  _ \(_)_ __   ___(_)/ _|_   _                    //
//                   | |_) | | '_ \ / _ \ | |_| | | |                   //
//                   |  __/| | | | |  __/ |  _| |_| |                   //
//                   |_|   |_|_| |_|\___|_|_|  \__, |                   //
//                                             |___/                    //
//======================================================================//

//@version=6
indicator("[Pineify] Loop Control", overlay=false)

length = 10
sum = 0

for i = 1 to length
    if i == 3
        continue  // Skip when i is 3
    if i == 7
        break     // Stop completely when i is 7
    sum := sum + i

plot(sum, title="Sum")
Normally you'd add 1+2+3+4+5+6+7+8+9+10 = 55. With control statements, you skip 3 (continue) and stop at 7 (break), getting 1+2+4+5+6 = 18.
Handle Loops with Pineify
Look, I get it — Pine Script loops can be frustrating when syntax errors pile up or an infinite loop locks your chart. That's why I built Pineify. You describe what you want in plain English, and it generates clean Pine Script code for you.
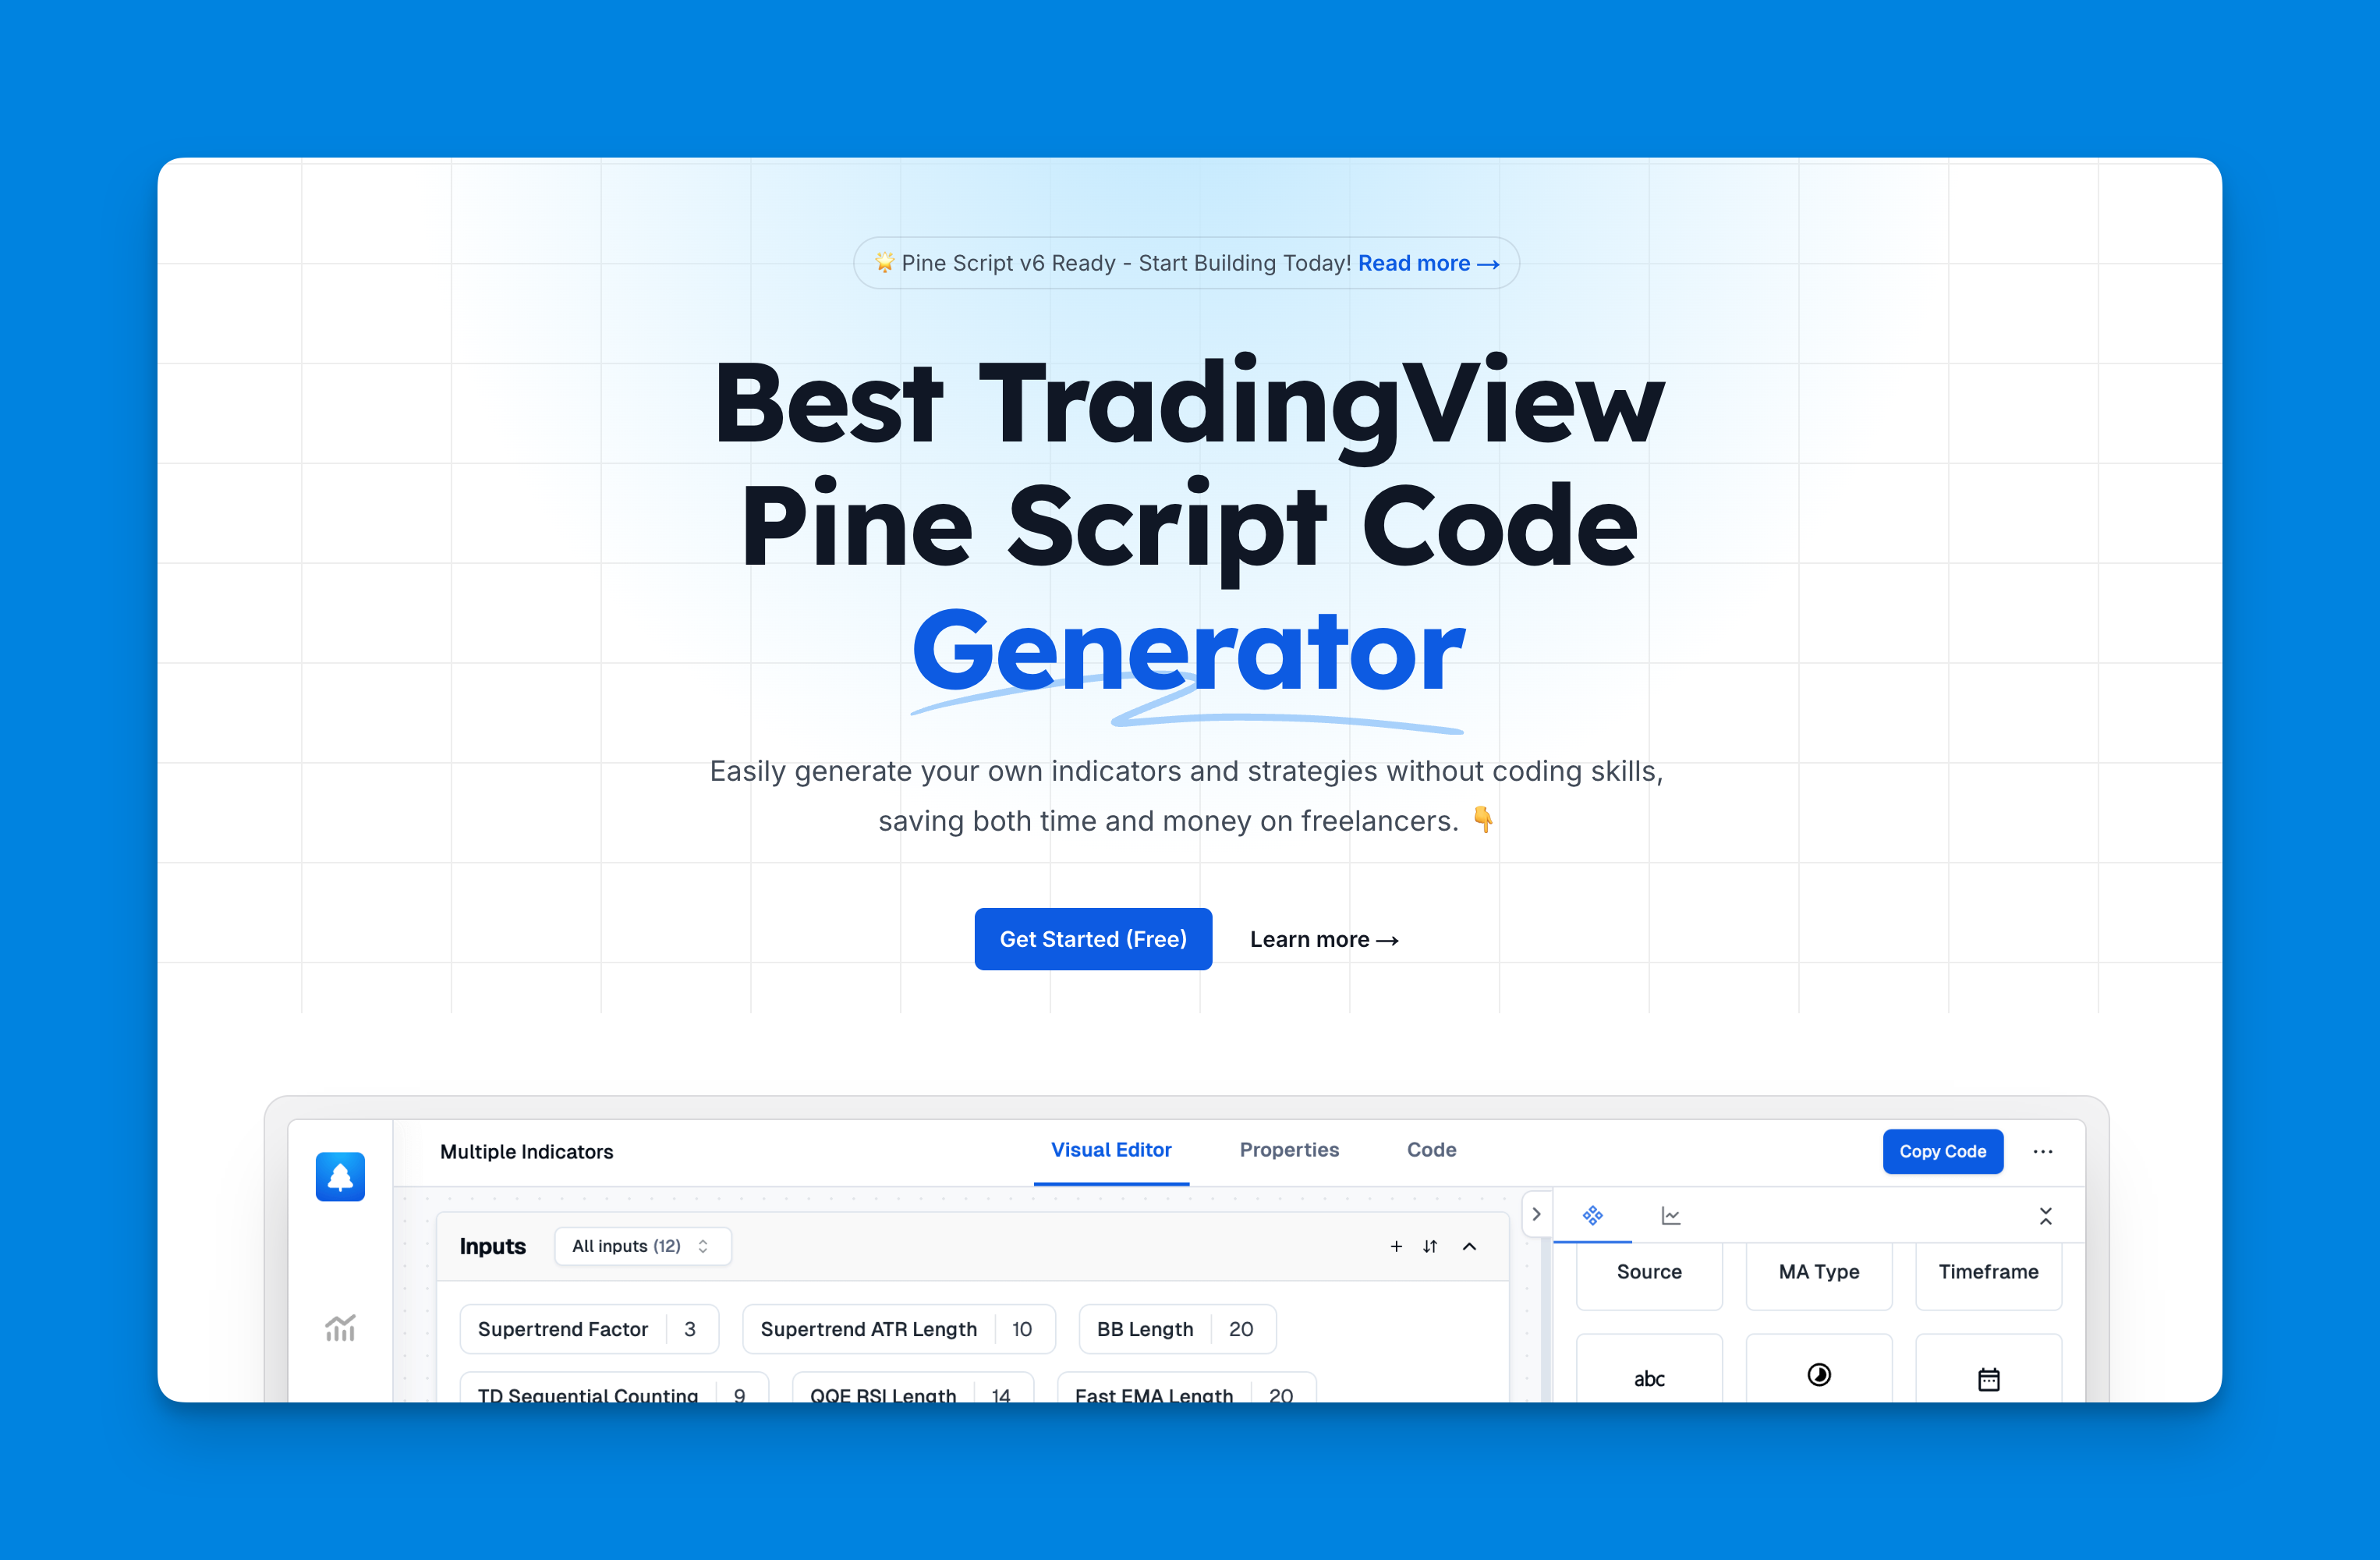
Check it out: Pineify
Here's what it does:
- Zero coding required — Describe your strategy in normal words, get working code
- Works with free TradingView — No more 2-indicator limit frustrations
- Import and modify existing scripts — Paste in code that needs tweaking
- Visual strategy builder — Drag and drop indicators, set conditions visually
- Built-in backtesting — Test strategies with proper risk management
- Saves serious time — No need to spend months learning syntax or hire developers
Pro Tips to Save Your Sanity
Some hard-learned lessons that'll save you debugging time:
Avoid infinite loops — Always make sure your loop has a clear exit condition. Pine Script will timeout, but not before wasting your time.
Remember the plotting rule — You can only use plot() outside loops. Store loop data in variables or use labels.
Start small, then scale up — Test loops with small ranges first (5-10 iterations) before running them on hundreds of bars. I skipped this once and my script froze for a full minute on a 2000-bar lookback. Don't be me.
Watch your variable scope — Variables declared inside loops stay inside loops. Plan your data flow.
Use meaningful counter names — Instead of i, try barIndex or dataPoint. Your future self will thank you.
For more debugging tips, check out How to Debug Pine Script Code (The Easy Way).
Combining Loops with Conditional Logic
One powerful pattern is combining for loops with if-else statements. This lets you process data selectively based on conditions. If you're not familiar with conditional statements yet, our guide on If Else in Pine Script: Making Your Code Actually Think covers this.
One limitation I'll admit: I haven't tested deeply nested loops on intraday data below the 1-minute timeframe. They'll probably timeout. Stick to a single loop level unless you really need nesting.
For loops are one of the most useful tools in Pine Script. Pick one example above, modify it slightly, and see what happens. Add complexity as you get comfortable.
And if syntax errors keep tripping you up, Pineify can generate working code from plain English descriptions. Sometimes the best way to learn is to see working examples and reverse-engineer them.
▶What is the basic syntax for a for loop in Pine Script?
The basic syntax is for counter = start_value to end_value followed by an indented code block. The counter increments by 1 each iteration until it reaches the end value. You can also use for el in array to iterate directly over array elements — I prefer this for readability.
▶Can you use plot() inside a Pine Script for loop?
No. Pine Script does not allow plot() inside loops. If you need to visualize loop data, store the result in a variable outside the loop and plot that, or use label.new() inside the loop to display values on the chart.
▶How do break and continue work in Pine Script loops?
break exits the loop entirely. continue skips the rest of the current iteration and moves to the next one. Both help control loop flow — stop early when you find a match, or skip bad data points.
▶How do you loop through an array in Pine Script?
Use for el in array to iterate over every element, or for [index, el] in array to get both the index and value. This is cleaner than using a numeric counter with array.get() and is the recommended approach.
▶What is the maximum number of iterations allowed in a Pine Script for loop?
Pine Script enforces execution time limits per bar. There's no hard-coded cap, but deeply nested loops or very large ranges (thousands of bars) can cause script timeout errors. Keep lookback ranges reasonable and test with small values first. I try to stay under 500 iterations per bar.
▶How can you use a for loop to calculate a custom moving average in Pine Script?
Declare sum = 0.0 before the loop, then iterate from 0 to length - 1, adding src[i] to sum each iteration. After the loop, divide sum by length to get the average. This is how built-in SMA functions work under the hood.